19 September 2019

Dog Rig Progress

I've been working on this rig, and here are a few screenshots of my progress. I'm still working on skinning the legs, and might go back in to the spine, as well. 


Some of this has been pretty tricky, and I've had to fix a few mistakes, but I'm learning a lot from this. The legs have been a challenge, especially the back legs, because I wanted to add control for the extra joint, independent of the rest of the leg.


I have just done a basic skinning job on the legs, so far, I am going to work on improving this next. I wanted to figure out the rig first, so that I knew which joints I would have for skinning purposes, so I have been going into 'evaluate nodes' and hitting ignore all, to make it easier to paint the weights.

There's work left to do, but it's very satisfying to see it start moving.

20 August 2019

Finished Dog Model

I've finished the modelling for the dog, and given it a simple texture.


26 July 2019

Dog Model Progress

I have started work on the head and it's coming along.


17 July 2019

New Project - Dog Model

I want to practise and develop my modelling and rigging skills, so I am making a dog!


I made some rough drawings to use for reference, because I don't really know enough about dog anatomy to draw something I'm sure of for orthographs.


I have also been looking at lots of photographs - I'm basing this on a Rottweiler.


This is my progress on the legs. I will add more edge loops to support the joints.

I'm going to start work on the head, next. I am looking at photographs and anatomical drawings for reference, and will make different drawings for orthographs.

I'm enjoying having a reason to spend extra time with my own dogs, although they are chihuahuas, it's still useful!

15 July 2019

None of This

I have made a poster for my film, for the purpose of submitting to film festivals. I have also had an update from Jeffrey Wang, and have added the new music to my film.


28 June 2019

Business Card Ideas

This is the picture I want to use from my film on the cards. And I think the second set of details, with my name and icons in red, is the best option. I do like the green background, but the white background is much easier to read.


8 June 2019

None of This: Scene 1 Lip Sync Update


I'm working on lip syncing at the moment and this is my progress from Scene 1. I still want to work in some different facial expressions, but I want to get the lip sync timed correctly first.


I'm also working on tidying up my project and my notes. I have all the information about which lights and which toon lines go with each shot written on post it notes and in different spreadsheets, I'm just putting it all into one document.


5 June 2019

Major: Reflective Statement


This project has been amazing, but difficult. I spent most of it still struggling with visualising the end result, and it wasn't until the end that I felt I could make the film I wanted to make. Choosing something personal has made me want to represent myself well, but it has also been challenging. Particularly listening to my own voice repeatedly, talking about something difficult, was difficult at times. I need to finish or adjust lots of things, and I also need to be more organised. I handed in more work than I thought I would have ready, but I wasn't ready to put it all together.

I will continue to work on the animation, and finish the lip sync properly. As well as organise and expand on my making of document. One thing I am excited to work on now, is sound design. The music, composed by Jeffrey Wang, has really brought the film to life, and I can't wait to fill it in with some sound design.

I have found many technical challenges, but I have also found myself excited to solve the problems. I feel much more confident with Maya now, and excited to improve my skills and learn more. Looking back to where I started three years ago, I think I have come a long way. I wasn't sure what I wanted to do, aside from make something colourful. I also wasn't sure if I'd be able to do it at all.  I have found that I enjoy many aspects of the animation pipeline, and that I can seeing the results of each stage is satisfying. I still love drawing and coming up with ideas, and have learned that I also love the technical aspects, particularly rigging. And, although this isn't finished, I have made something I'm pleased with, and it is colourful!

3 June 2019

Major: Progress Update


Here is some progress on my film.


 I didn't notice right away that the blendshapes for the blink weren't working in the first bit, but these don't take long to render, so I might do those shots again this morning.

My other main tasks for this morning are to finish putting my making of together, and to adjust the drawing on my turnaround video.

31 May 2019

Major: More Animation and Blocked out Scenes

This is a render of my character, without the toon lines, placed against one of my 2D backgrounds. I will move the star to the middle of the shot, and have it end on a red background. I plan to use the 2D animations to change the colour of my scene a few times.


This video shows some more of the animation I have done, as well as some more rough poses for the later part of my film. It also has a some of my 2D animated backgrounds, some of which are just placeholders to show when I will have one.

I have done some more work on the earlier scenes since I added the playblasts to this composition, and I will make an update to show this.


29 May 2019

Major: Turnaround Update + Face Ref

I have created an updated turnaround for my character, with a different pose and with the face now posed.


I am also posting the videos I took as reference for lip syncing purposes, as I did not include them in my previous reference post.


24 May 2019

Major: More Animation + Fire

This is part of my second scene. I blocked out the body animation before adding the fire. This helped me to see see where best to put the flames.


I have used planes with blendshapes to make each flame. I wanted to be able to stick these flames to parts of my character, and have them distort to point upwards when my character moves.

I did some tests with a cube, using lattice deformers with a cluster aim constrained to a locator above the scene. It took me a few tries to get the right set up of constraints and settings on the various parts of this, but I was able to get it working on individual flames and groups of flames.


 I made a set of shapes to animate to create a flickering for the flame and added the deformers to the set up.


I parented each flame to a locator and used parent constraints to attach the locators to the characters joints. I used the scale of the locators to make the flames appear and disappear.


I used an aim constraint on each cluster to point it to another locator, which I was able to keep above the scene, and animate as needed.


This is the result.


I may try something else to keep the flames facing the camera, but this is pretty close to what I want.

26 April 2019

Major: Animation Progress 4

I have blocked out a little more of my first scene. I think I need to bring my main camera in closer, and there is another camera I want to set up that is close in on the face, which I will cut to around when I say "invisible".


18 April 2019

Major: Animation Progress 3

I've added a few more steps and done a tiny bit more with the face in the first few seconds.


17 April 2019

Major: Rendering Tests

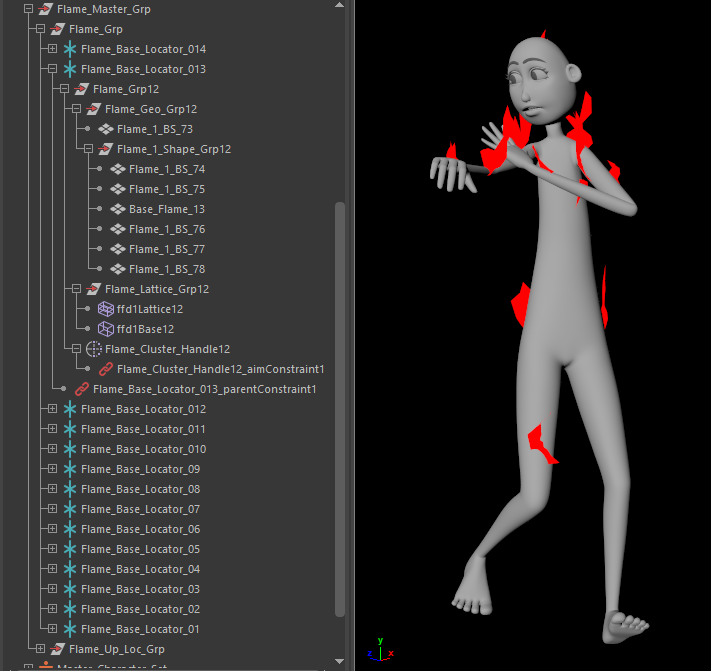
I thought I'd check how the toon shaders work, now that I have some animation on my rig. I am glad I have checked, because there were some issues.

The problem is that, with the teeth and tongue in my character's mouth, if the mouth is open, the lines around it don't render correctly. I was thinking it must be a setting on the toon shader, but I can't find anything that makes it work how I want. I have included an example below.


With the mouth empty, the lines render how I want them to.


As I would render the lines and fill colours separately, I can hide the teeth and tongue for rendering my lines, but keep them for the fill colours. Which gives a good result.


I need to recolour the lines after they have rendered, as they get a light coloured outline around them, but I would need to do this anyway.


As I would be rendering the lines and fill colours separately, this isn't really a problem, but I was thinking of having lines around the tongue, and I am not sure how this will work - I need to do more tests.

The render time for a close up shot, for the lines, is around 3 minutes per frame, at the moment. It is still changing, as I am working out the best way to set the line width - I will need to adjust the settings for each shot, but will come up with a list of settings for common shot distances that I can refer back to, and keep the lines consistent. For animated shots, I think I will use the method I devised during Minor, that adjusts the line width according to the camera. It may be more efficient for render time, to plug this in, take note of some values and key them manually.

I also realised that some of my blendshapes weren't rendering correctly in the render view or through render sequence, the blink being most noticeable. I was able to fix this by unticking the GPU override box in the animation preferences. The first GIF is the initial result I was getting, and the second is the fixed version.


16 April 2019

Major: Animation Progress 2

I have added a few more steps to the scene and started working on the face. I can see that there is one step in this that is particularly dodgy - the first step backwards. I tried to block these few steps out more sparingly, but I think it would have been better to have at least one more key pose in there while I was blocking out. I will try and find a balance between adding too many frames right away, and not enough.


For the face I have just started with the first word, to get to see how the rig looks in action. I did also start adding a jaw bounce for the second word, but I think I have over done that. From this point I will go through and do the jaw bounce and work on blocking out the facial animation, rather than going right in with details.


I've had a few glitches, but nothing too big. The one below just seems to appear when I move frames around, and goes away easily enough when I carry on working.


14 April 2019

Major: Sticky Eyes Problem - Fixed

I had a problem with my sticky eyes again, but I think it is all working now.

The problem was rotating my character caused the sticky eye blendshapes to turn on, as the eyes I was using for my set driven keys moved with the orient constraint. This meant that if my character was turned sideways, but looking ahead of itself, the sticky eyes behaved as though the character was looking sideways.


The problem is more obvious in this image, through the Face_Cam and with the eyelashes hidden - the look-left sticky eyes are enabled here.


I was able to resolve this by grouping the eyes from the rig again and using an orient constraint to turn them with my character's head.


The eyes turn with my character now, so the rotation values are on this new group, rather than the joints that are driving my blendshapes. I have played around with this setup and think it has fixed the problem without causing any new ones.