Showing posts with label Textures. Show all posts

11 January 2019

Minor: Textures and Effects

This post is some of the work on textures and effects that I have done. It is in my 'making of' document already and I will also post it here.

I have rendered my character with different shaders - one with a grey Standard Surface and one of each colour Toon I will use.


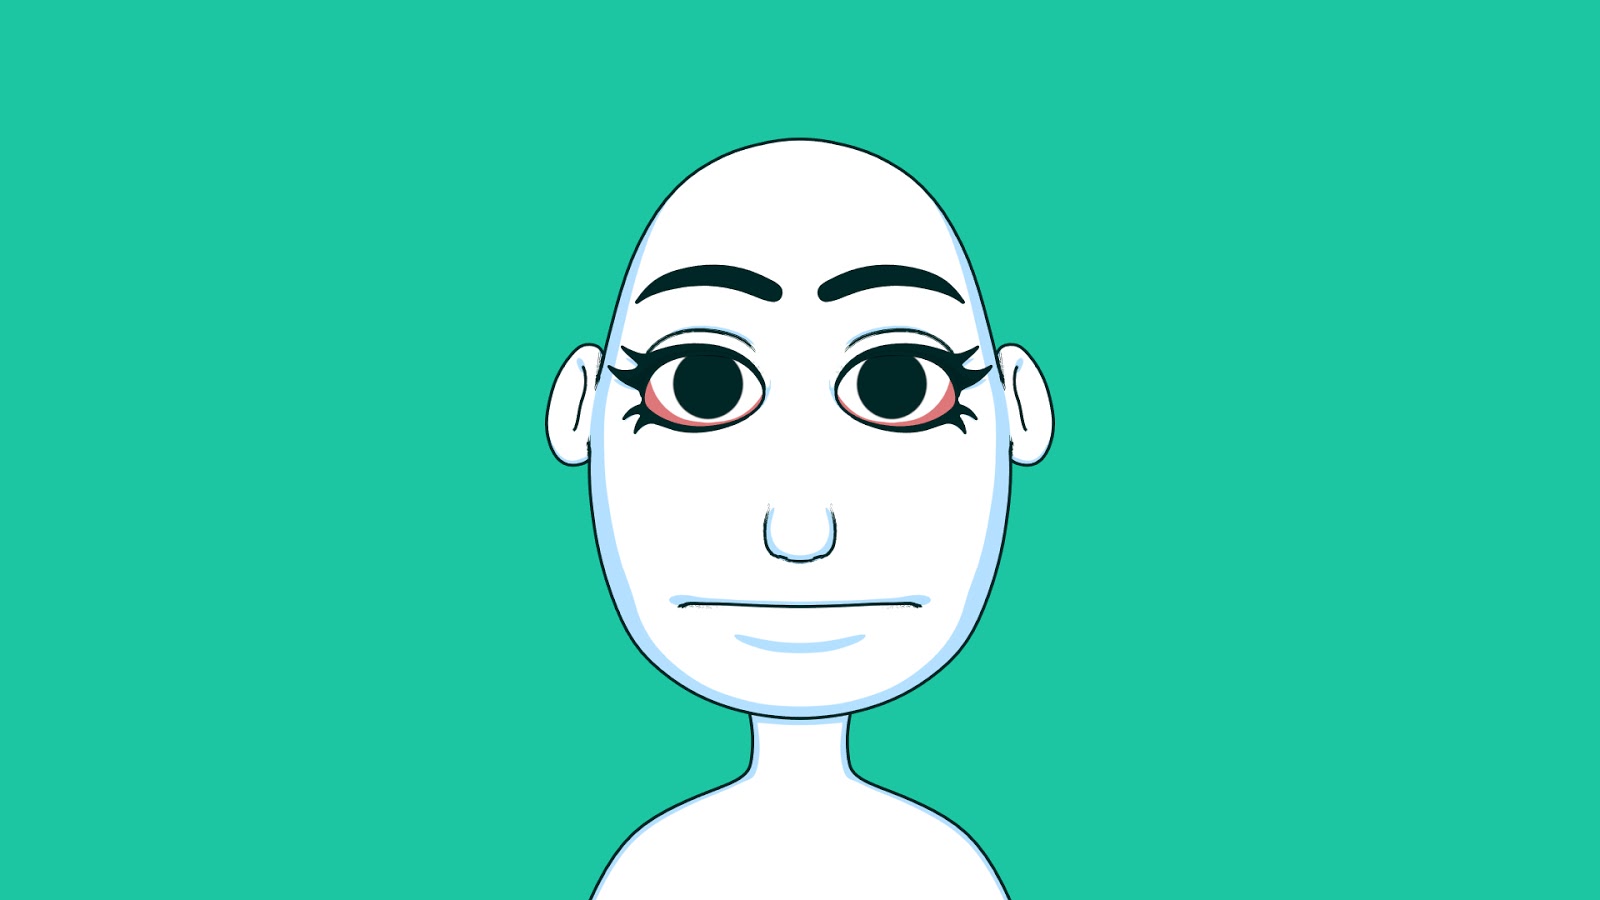


I will likely adjust the red shader - I need to find a balance between it being bright enough and it still showing the character's shape.

I have also created a version of my character with sections missing from it. This involved editing a duplicate of my character model and attaching it to the original with a wrap deformer. As this was quite a quick process, I will be able to make a new version with different pieces missing if I need to.


The new model follows quite well with the rig, though there is some issues on the flat red surfaces.


This is a render of my character's waist in a the side bend shown above. The red Toon hides the distortion quite well, and I will be using an animated texture on these sections.
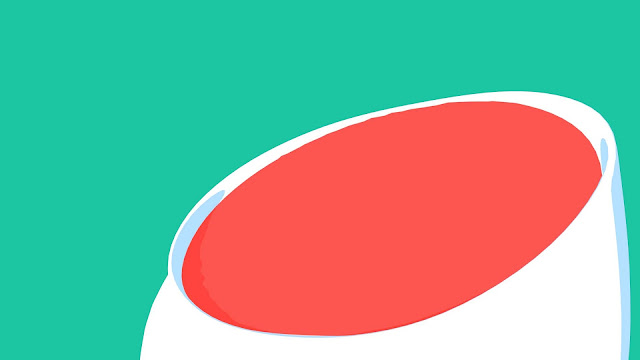

I have tried using fractal and noise nodes plugged into the displacement on the red shader, as I have done previously with a section of the foot.


I am pleased with the effect so far and will continue to experiment with different options.

21 December 2018

Minor: Displacement Test

I have been testing out using textures as way to distort my model. These tests were done on a cutaway piece of my characters leg with an aitoon shader, using noise and displacement.


I will continue to experiment with this, to get something that fits nicely with my character and the simple/cartoon nature of my film.

This isn't the exact shade of red I will use and I've also noticed that I want to change the blue I am using for shadow on the skin, as it is a bit too cold.

30 November 2018

Minor: Toon Tests 1

I've been trying out the aiToon shader and am getting closer to the effect I would like.


There are quite a few settings inside of the shader itself and also a way to adjust the lines in the render settings. There seems to be limited information about how to best use the shader, though Arnold have a good page that describes the settings. Aside from a few problems, this shader is proving to be very useful.


This is how the shader rendered when applied without adjusting the settings. It hasn't affected the way shadows show on the object, but it has added some lines.


I started with adding a ramp to the tonemap on the base and adjusting it, as well as changing the edge width scaling and angle threshold.

After adding the correct colours and adjusting these settings I am quite pleased with this initial test. The main issue I am having is that the width of the lines doesn't behave how I would like when the camera moves. These two renders were taken with the same settings, but the camera is in a different position. Unfortunately, the line width doesn't scale with the rest of the model, which looks quite strange, especially the more extreme the change is.


I am not sure if there is a quick fix for this, I have had a bit of a look around without much luck. If not, I am wondering if there is something more involved that I can plug in to the width scaling that will solve the issue.