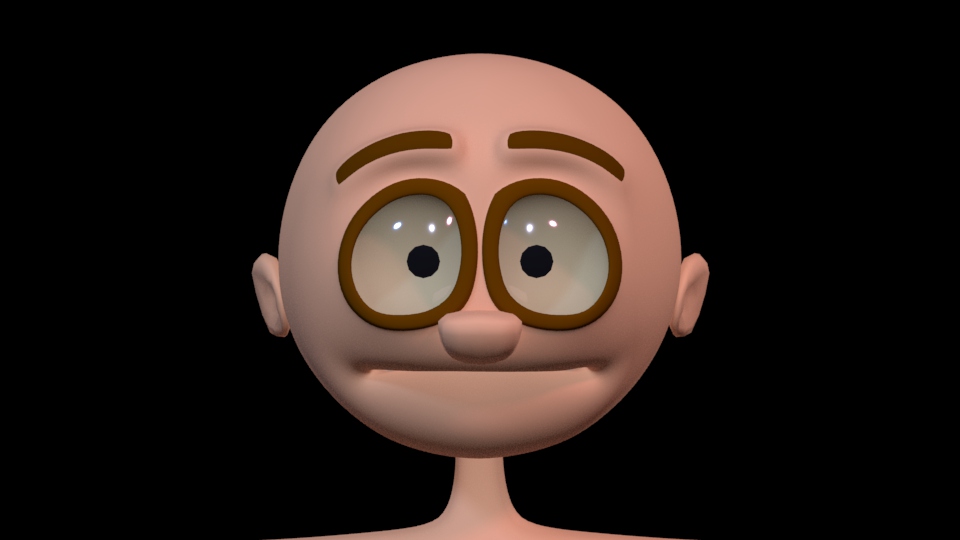
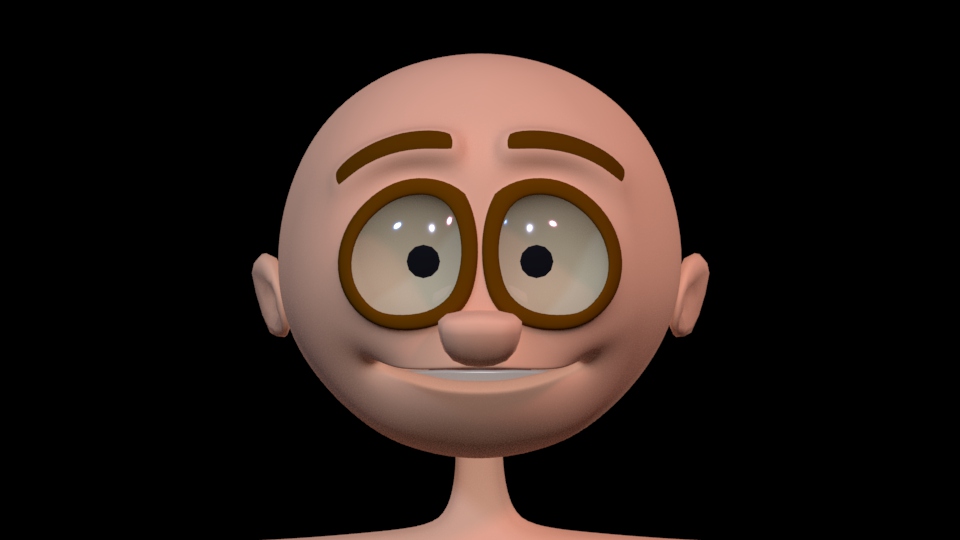
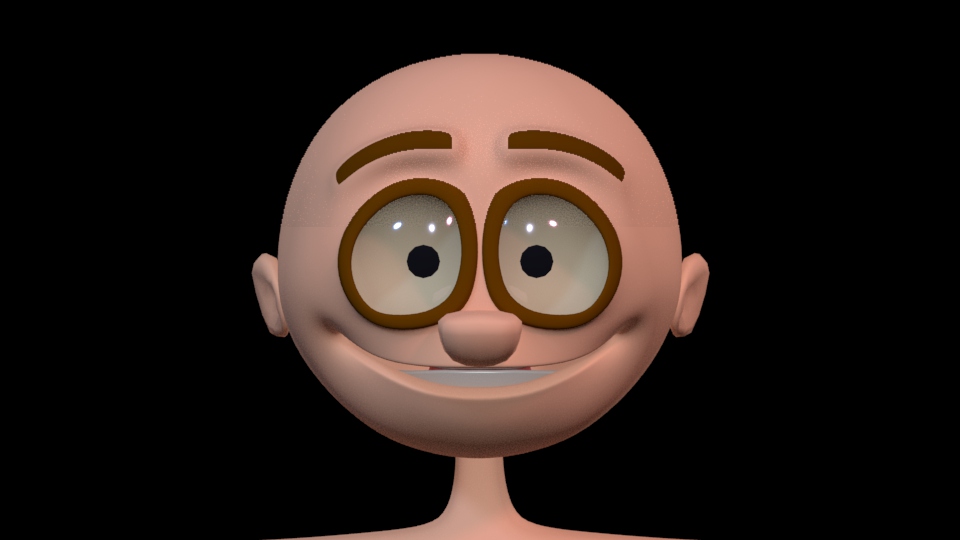
I didn't notice right away that the blendshapes for the blink weren't working in the first bit, but these don't take long to render, so I might do those shots again this morning.
My other main tasks for this morning are to finish putting my making of together, and to adjust the drawing on my turnaround video.
This is a render of my character, without the toon lines, placed against one of my 2D backgrounds. I will move the star to the middle of the shot, and have it end on a red background. I plan to use the 2D animations to change the colour of my scene a few times.
This video shows some more of the animation I have done, as well as some more rough poses for the later part of my film. It also has a some of my 2D animated backgrounds, some of which are just placeholders to show when I will have one.
I have done some more work on the earlier scenes since I added the playblasts to this composition, and I will make an update to show this.
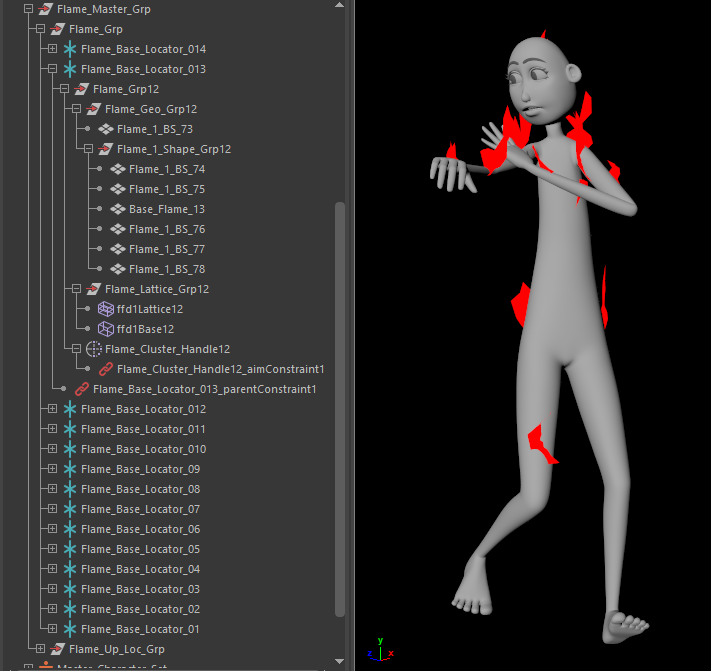
This is part of my second scene. I blocked out the body animation before adding the fire. This helped me to see see where best to put the flames.
I have used planes with blendshapes to make each flame. I wanted to be able to stick these flames to parts of my character, and have them distort to point upwards when my character moves.
I did some tests with a cube, using lattice deformers with a cluster aim constrained to a locator above the scene. It took me a few tries to get the right set up of constraints and settings on the various parts of this, but I was able to get it working on individual flames and groups of flames.
I made a set of shapes to animate to create a flickering for the flame and added the deformers to the set up.
I parented each flame to a locator and used parent constraints to attach the locators to the characters joints. I used the scale of the locators to make the flames appear and disappear.
I used an aim constraint on each cluster to point it to another locator, which I was able to keep above the scene, and animate as needed.
This is the result.
I may try something else to keep the flames facing the camera, but this is pretty close to what I want.
I have blocked out a little more of my first scene. I think I need to bring my main camera in closer, and there is another camera I want to set up that is close in on the face, which I will cut to around when I say "invisible".
I have added a few more steps to the scene and started working on the face. I can see that there is one step in this that is particularly dodgy - the first step backwards. I tried to block these few steps out more sparingly, but I think it would have been better to have at least one more key pose in there while I was blocking out. I will try and find a balance between adding too many frames right away, and not enough.
For the face I have just started with the first word, to get to see how the rig looks in action. I did also start adding a jaw bounce for the second word, but I think I have over done that. From this point I will go through and do the jaw bounce and work on blocking out the facial animation, rather than going right in with details.
I've had a few glitches, but nothing too big. The one below just seems to appear when I move frames around, and goes away easily enough when I carry on working.
I have just focused on the body for now, it still needs work, so any feedback would be appreciated. For now I am going to block out some more key poses and start on the face.
This is the lip sync as it was at the end of last week. Since then I have posed the rest of the face and the head. When I did this it affected some of the closes in the lip sync, so I changed those accordingly.
For this task we were provided a weightlifting video and certain frames to use as reference for posing a character in Maya. Frames 180, 201 and 211 were completed first and frames 198 and 205 were filled in after this.